Although you can use the Voice Recorder or Sound Recorder app in Windows 11 or 10 to record audio up to any length as long as there is free space on the hard disk drive. When you record something important and lengthy, such as a lecture, concert, speech, meeting, you may need to record a small portion first, then go to finish recording another file(s), finally merge or combine the two or more recordings using a third-party audio editor. In this guide, we will be using LosslessCut and Audacity, two free and open source audio editors, to join voice recordings recorded using the Sound Recorder in Windows 11 or 10. In fact, you can use these free editors to concatenate any other types of audio files on PC.
Contents
- Part 1. Combine voice recordings on Windows PC with LosslessCut
- Step 1. Find sound recordings in Windows 11, 10
- Step 2. Preparing the voice recordings
- Step 3. Download and install LosslessCut
- Step 4. Import voice recordings to LosslessCut
- Step 5. Sort audio recordings
- Step 6. Combine multiple sound recordings into one
- Part 2. Merge multiple sound recordings with Audacity on PC
Part 1. Combine voice recordings on Windows PC with LosslessCut
Firstly you need to find out where the files are saved on your computer hard drive. Then add them to the media converter. Choose an output format and finally merge and convert the audio files into one. Check out details below.
Step 1. Find sound recordings in Windows 11, 10
To find voice recordings on Windows 11 and 10 PC, browse to C:\Users\YourUserName\Documents\Sound recordings in Windows File Explorer, which is the default location of Voice Recorder app.
You may also open the file location from within the Voice Recorder app. Run Voice Recorder app on your PC, you should see a list of existing recordings on the left panel, right click on a recording file, and choose ‘Open file location‘ from the context menu, then you will find all recorded files by Voice Recorder open in the file explorer.

Alternatively, you can also click the three dots icon on the lower right of the screen, then get three choices: Settings, Feedback and Open file location. Clicking on ‘Open file location‘ opens the file saving location of Voice Recorder app in Windows file explorer.
Now you have found all the recording files on your PC. You can see they are all .m4a files if you have enabled the display of file extension in Windows.
Step 2. Preparing the voice recordings – optional but recommended
Optionally you can create a new folder on your hard drive and copy the recording files that you want to merge from their default location or folder to the new folder. Then rename and sort them in the right order you want, say recording1.m4a, recording2.m4a, recording3.m4a.
Step 3. Download and install LosslessCut
LosslessCut is the swiss army knife of lossless video/audio editing for Windows, Mac and Linux. Its free and open source. Lossless merge/concatenation of arbitrary files (with identical codecs parameters, e.g. from the same camera or recorder.) Everything is extremely fast because it does an almost direct data copy, fueled by the awesome FFmpeg which does all the grunt work.
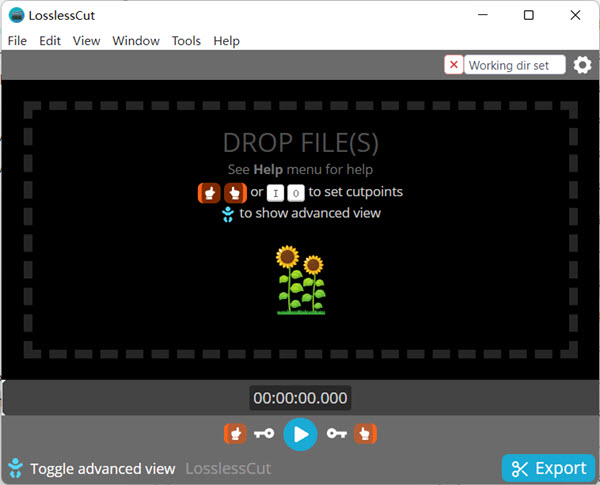
Step 4. Import voice recordings to LosslessCut
Select all the sound tracks or recordings, then drag and drop them to LosslessCut interface to quickly import the recorded audio files.
Step 5. Sort audio recordings
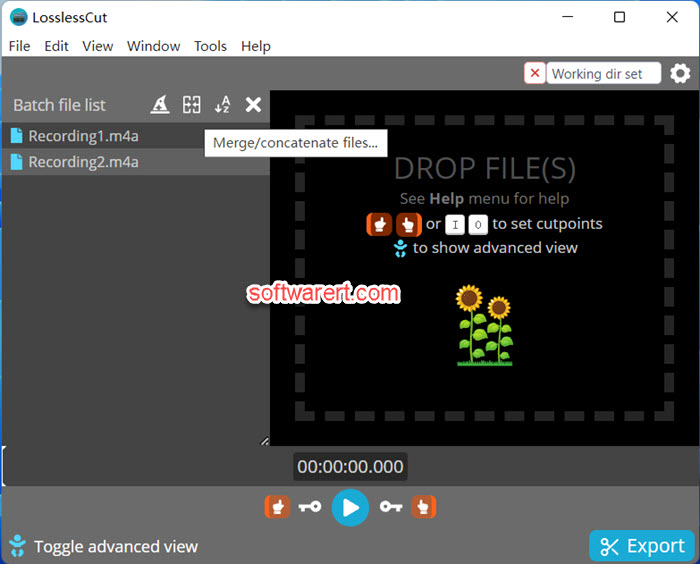
Your sound recordings will be displayed in the Batch file list in LosslessCut. You can click the Sort items button above this list to sort them alphabetically or simply drag and drop the recorded audio files manually to change their order.
Step 6. Combine multiple sound recordings into one
Click the Merge/concatenate files… button above the Batch file list, you will find more options you can change before finally joining all audio files.
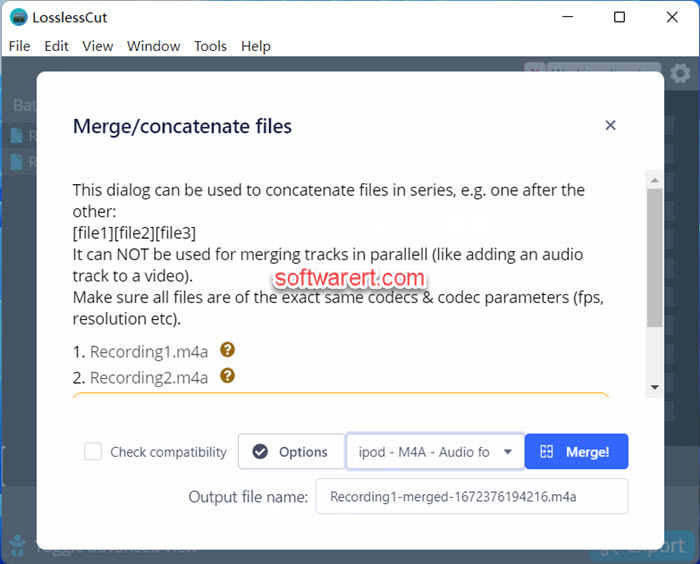
For example, you can check the compatibility of all source files. It is not necessary in this case since all audio files were recorded using the same app with the same settings. You can choose an output format for the output audio file, choose a file name and so on. Finally hit the Merge button to complete. File will be saved to the working directory of this audio editor on your computer hard drive.
Part 2. Merge multiple sound recordings with Audacity on PC
Audacity is another great free option to edit audio files on computer. Get the recorded audio files prepared following the two steps in Part 1 before we proceed.
Step 1. Download and install Audacity
Audacity is an easy-to-use audio editor can help you with that. It is free, open source and cross-platform. Audacity is available for Windows, macOS, GNU/Linux and other operating systems. The software has a clean and simple interface that is easy to use, even for those who are not familiar with audio editing software. Also has good support, with a large user community.

Step 2. Add sound recordings to Audacity
Select all the sound tracks or recordings, then drag and drop them to Audacity to quickly import the recorded audio files.
Can’t import M4A or ACC to Audacity
Windows users need to download and install the optional FFmpeg library. Without the FFmpeg library, Audacity can’t open M4A files. Instead it throws an error when you importing a voice recording file in M4A format into Audacity:
“*.m4a is an Advanced Audio Coding file. Audacity cannot open this type of file. You need to convert it to a supported audio format, such as WAV or AIFF.”
-Audacity
Click Edit from the top menu bar of Audacity and choose Preferences from the drop-down menu. The Preferences opens in a new window. Choose Libraries from the left panel, you can then find the options to locate or download FFmpeg library. If you have not downloaded or installed the FFmpeg library on your PC before. Click Download button and follow on-screen tips to install it on your PC. After that you should be able to import M4A or ACC audios to Audacity
Step 3. Put audio recordings in the right order in Audacity
You can align all the sound recordings automatically or manually move audio clips in the track in Audacity.
Click the Select menu, choose All from the drop-down menu, then click Tracks menu, and choose Align Tracks > Align End to End.
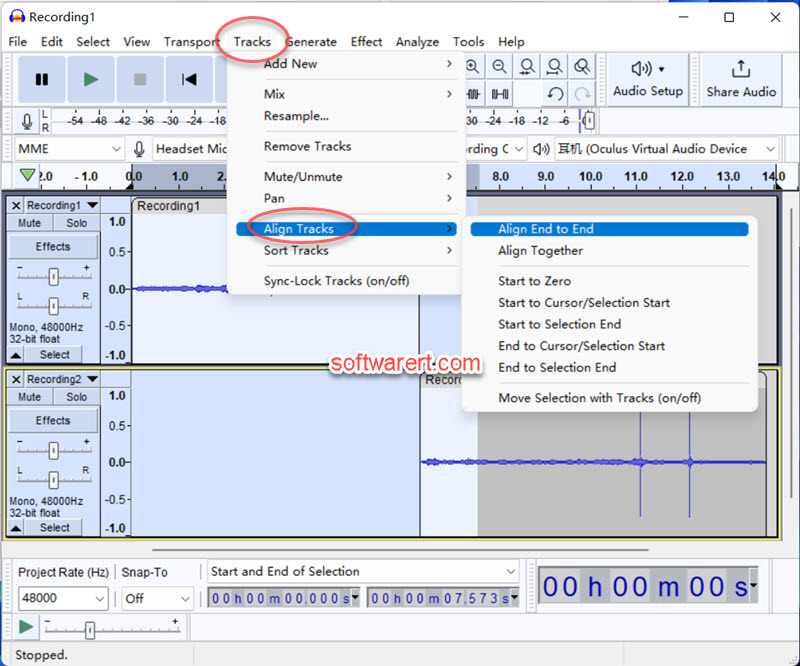
To move a sound recording in the timeline, simply drag and drop it using the Clip-handle (the light area with the rounded corners) at the top of the clip. Move the clip back and forth on the Timeline with your cursor to adjust the waveform to a specific time point.
Step 4. Merge audio recordings into one
Click File > Export, then select one of the export options that suits your need the best: Export as MP3, Export as WAV, Export as OGG, Export Audio which more output format options in the following dialogue. Name the merge audio file, choose a location on your computer and save.