Photoshop is the industry-standard graphic editor. It supports a wide range of image formats, JPEG, PNG, TIFF, GIF and many more. In previous posts, we used it for creating and editing animated GIFs. In this quick guide, we will show you how to add text as watermark to a GIF file using Photoshop on a Windows PC.
Step 1. Open GIF file in Photoshop
Run Photoshop on your PC, drag and drop the GIF file from Windows file explorer to the photo editor to open it. Alternatively click File from the top menu bar, choose Open from the drop-down menu, then browse to the folder where the GIF file is saved and import it to the image editor.
Step 2. Open the Timeline
The Timeline panel provides us an intuitive way to preview thumbnails of all image frames in the animation and control all the GIF frames. It is however disabled by default. To view the Timeline, click Window from the top menu bar, then select Timeline from the lower section of the long drop-down menu. Then, you can see all the GIF frames in the Timeline panel at the bottom.
Below the frame thumbnails, we have the basic controls of the animation, such as frame selection tools, play, stop, tween frames, duplicate frames, delete frames, etc.
Step 3. Create a text layer
Find the Layers panel at the lower right corner, all GIF frames are listed as individual layers here. By default the first frame will be selected in the layers list. You need to select the last frame layer at the top of this list, so that you can click the Create A New Layer button at the bottom right corner to directly create a layer at the top of the layer list.
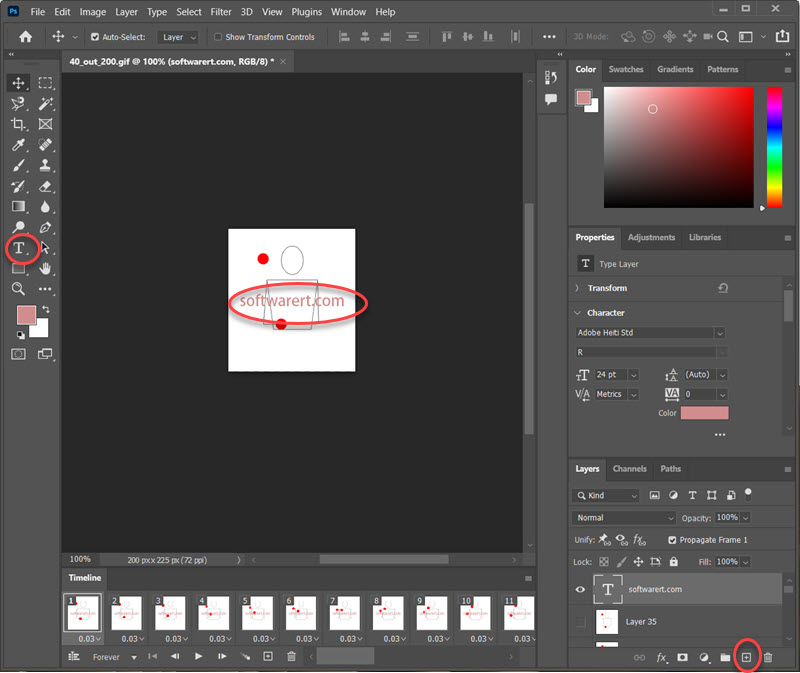
The new layer will be automatically selected as the current layer. Click the Type Tool button from the left sidebar, then click on the canvas to type in text to the GIF frames. You can tweak the font, size, color, alignment, opacity, and other aspects of the text from the Properties panel in the right sidebar.
Click the Move Tool button which can be found at the top of the left sidebar and move the text watermark to any position on the canvas you like.
Step 4. Preview and export GIF
Click the Play button at the bottom of the Timeline to preview the GIF animation in Photoshop. Go to File > Save a Copy > GIF > Save to export it as a new GIF file on your PC. Or you can go File > Export > Export As to export the GIF file with your saved preferences to your computer.