There are five quick and free ways to export an individual frame from a video on Mac without any third-party video editors or apps. If you want to get the best image or frame out of a high quality video, we highly recommend the third, fourth and fifth methods. The first two methods of capturing a video frame may compromise the image quality whereas the other three methods can help you extract high quality image frames without quality loss.
Method 1: Take screenshot to capture video frame
Mac comes with the screenshot feature which allows users to quickly capture the entire screen, a window, or just a portion of the screen.
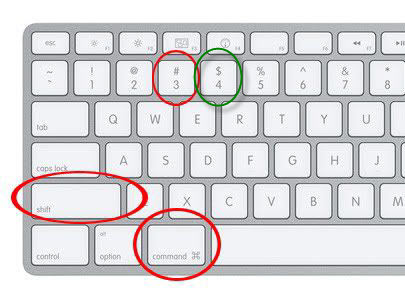
To capture photo from a video on Mac, play the video using any video player, notably the QuickTime Player, on your Mac. Then pause at the point or frame you like to save. Move the mouse cursor out of the player window so the play controls disappear. Press and hold these keys together: Shift + Command+ 4 + Space bar. The pointer changes to a camera icon. Click the window or menu to capture it. By default, screenshots save to your desktop on Mac. Find more information about screenshot capturing on Mac here.
This is the quickest way to capture a photo of video on Mac but it doesn’t give you much control and compromise the image quality. The image size may be reduced down, it may lose the sharpness in the details and become a bit blurry.
Method 2. Take a screenshot of video in Preview
Except the built-in screen capture tool on Mac, you can also use Preview app to take a screenshot while the video is played in QuickTime or other player on Mac and save the captured video frame as still image.
Open the Preview app on Mac, go to File > Take Screenshot, you will then be presented with three different options to take a screenshot from selection, window or entire screen.
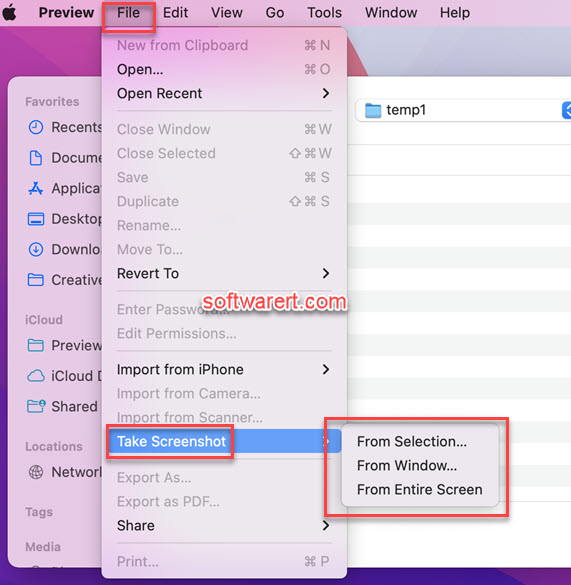
The pointer changes to a camera icon. Click the window or menu to capture it. Once captured, the screenshot will open in Preview, go to File > Save, it gives you more control over formats, image quality. For example, you can save the capture video frame as JPEG, HEIC, PNG or TIFF file.
Method 3. Extract video frames in QuickTime Player – best way!
This method involves more steps but gives you more control and best image quality. We will need to use both the QuickTime Player and an image editor or viewer. We will use Preview in this demo similarly to Method 2 above, but in different ways. You can choose your preferred image editor or app.
Open the video in QuickTime Player and pause on the scene or frame you like to capture. You can move the play head to quickly browse through image frames in the video and select the frame to export. Go to Edit > Copy to copy the select video frame to clipboard.
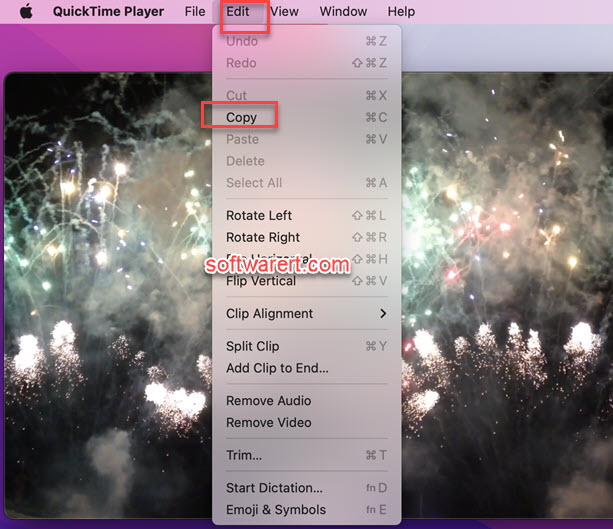
Now we can go to create a new image from the clipboard. You can opt for Preview, the default image viewer on Mac. In Preview, choose File > New from Clipboard to paste the copied video frame to Preview.
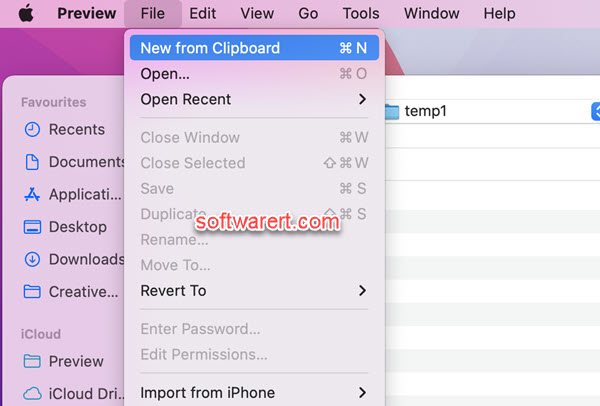
And go to export it from File > Save. Again, you will be offered with options to choose location, different image format and quality before saving the video frame as still picture to your Mac. The frame will be extracted in exact the same width/height as the source video.
Method 4. Export photos from video using Photos app
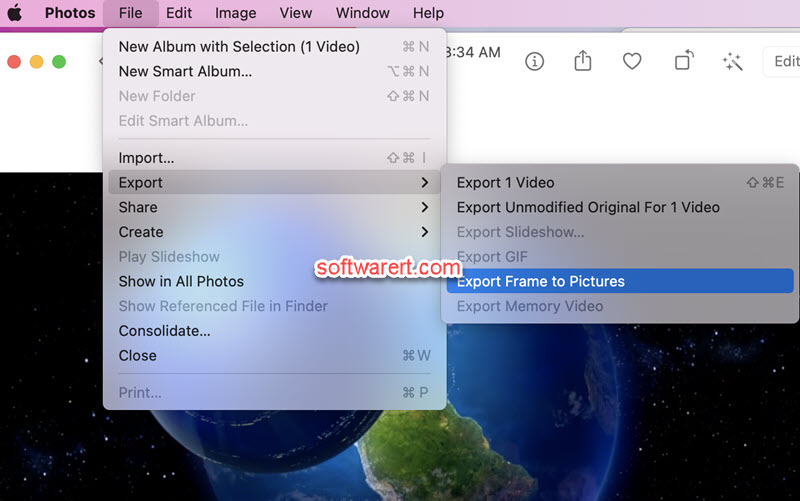
Add the video to Photos app if not yet. Then play the video in Photos to find the frame you like to extract, and pause. Then go to the top menu bar, choose File > Export > Export Frame to Pictures. The selected frame in the video will be saved to your photos library as a picture in TIFF format.
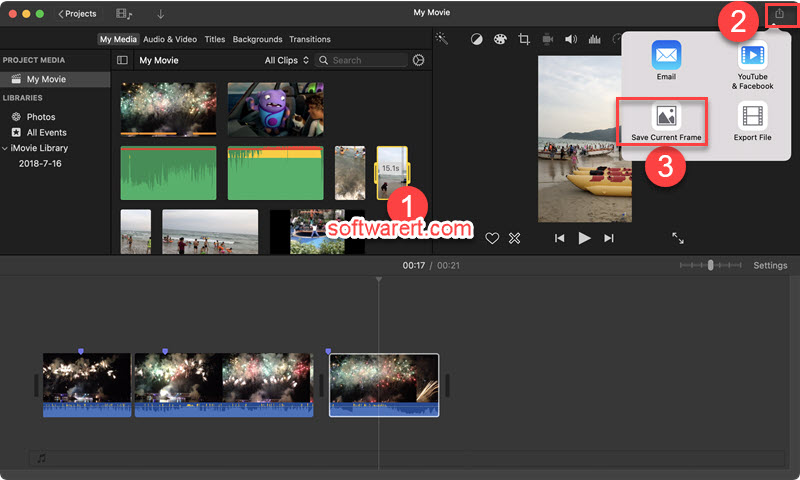
Method 5. Save video frames in iMovie
There are basically two methods to grab frames from videos in iMovie. You can select the frame in in iMovie’s Timeline or media browser, then go to Share menu and choose Save Current Frame. The Save dialog appears where you can choose a different file name and/or location, finally hit the Save button to export the selected frame as JPEG image to your Mac.