GIF is a popular image format. A GIF image looks like a video which also consists of images or frames. Many people use GIF images to create demos that shows others how to do something. For example, you can make demo videos to teach your parents how to surf the internet, use a web service, like YouTube, Facebook, Twitter, etc. There are various GIF makers, some can convert videos to GIF files, some can convert images to GIF. With a GIF screen recorder, you can capture your Mac screen and save it as GIF files. Today, we will introduce you an easy GIF capture for Mac and show you how to record Mac screen as GIF in no time.
Easy GIF capture for Mac
LICEcap is a free and easy GIF capture for Mac. It is intuitive but flexible (available for both Windows and Mac OS). It is designed to be lightweight and function with high performance. The most recent LICEcap v1.32 for macOS is only 876kb. LICEcap can capture an area of your desktop and save it directly to .GIF. If you are looking for an easy GIF capture for Mac, we highly recommend LICEcap.
Record screen as GIF on Mac
Start the screen capture and GIF maker on your Mac, you will see the recording window, a frame with transparent background.
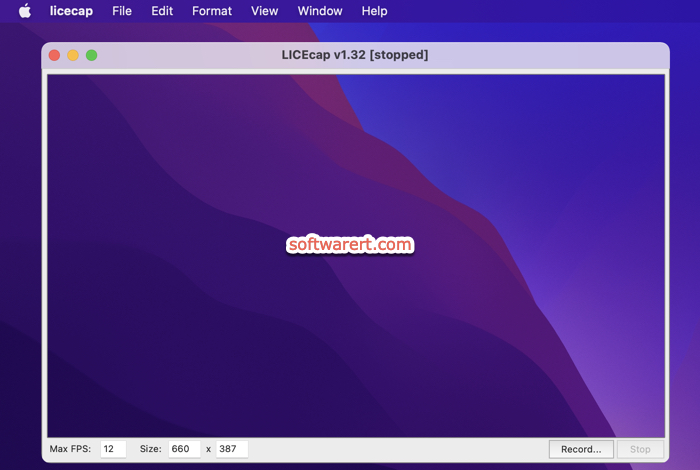
Bring anything you want to capture to the front on your desktop. Drag the borders of the capture window to resize it so as to choose the region you want to record or capture as GIF. Its size, width and height, changes accordingly while you resize the window. You can find the Max FPS, size, Record, Stop options at the bottom of the capture window. Generally speaking you can set the FPS from 8 to 12. Hit the Record button. The GIF screen recorder won’t start capturing the region you have selected immediately. Instead you will have the options to add tags, type in a different file name, choose where to save the file, select a different file type other than GIF, set title frame, elapse time, repeat count, stop timing, transparency, etc. When you are ready, click the Save button. The gif capture will now start recording your Mac desktop. You can pause or stop the recording any time you like. When you stop the screen recording, the recorded GIF will be saved to the location you have specified above.