There are numerous video editors you can find when you need to trim a video or cut parts of your videos on Windows PC or Mac computer. Premiere Pro, DaVinci Resolve and Avid Media Composer are some of the most used video editing software in the world. Generally speaking, the more features an editor has, the more complex it becomes. As a result you may find these feature-rich video editors are not very easy to use even for simple cuts. On the other end, some free and open-source video editors are much easier to use and no learning curve involved even for beginners.
LosslessCut aims to be the ultimate cross platform FFmpeg GUI for extremely fast and lossless operations on video, audio, subtitle and other related media files. The main feature is lossless trimming and cutting of video and audio files, which is great for saving space by rough-cutting your large video files taken from video cameras. Most video editors will ask you to choose an output format, codec, resolution when you export videos. As a result a slow re-encode occurs during the export process. Unlike many other video editors, LosslessCut however lets you quickly extract any selected parts from your videos and discard the rest without spending time re-encoding them and thereby losing quality.
In this quick guide, we will show you how easy the lossless video trimming has been made by LosslessCut. Note that we will be using LosslessCut for Mac in this demo, if you are using its Windows or Linux version you may see some difference.
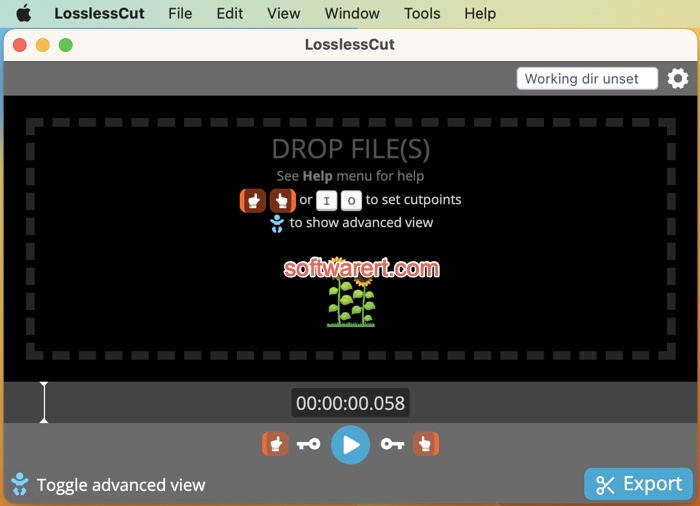
Launch LosslessCut on your Mac. You can drag and drop a video file from Finder into the video editor to load the video. You can also use the menu option to open a file, click File > Open, then select and open a video in LosslessCut.
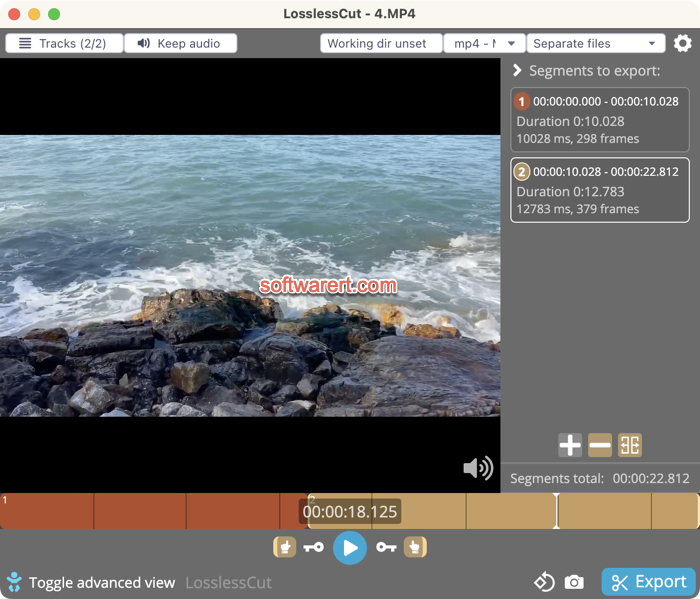
Press spacebar to play/pause or click the Play/Pause button in blue. Alternatively just click on the Timeline to quickly select the point you want to split the video. Then click the Split segment at cursor button on the right panel titled Segments to export. Repeat the steps to select all segments. They will be listed in the Segments to export panel.
Finally click Export (scissors button) at the bottom right corner. You will be presented with the export options. Generally speaking you don’t need to change the default settings. The original video will not be changed. The exported clips will be saved in the same folder as your original video and are named after the original video. Simply click the Export again to finish.