Photoshop is a very powerful image editor. It empowers both artists and everyday individuals to unlock their creativity with its powerful tools. In this quick guide, we will show you an easy way to whiten teeth in pictures using Photoshop for Windows PC. There are different methods to make teeth whiter using Photoshop. If you known of a better way, share with us in the comment section at the bottom.
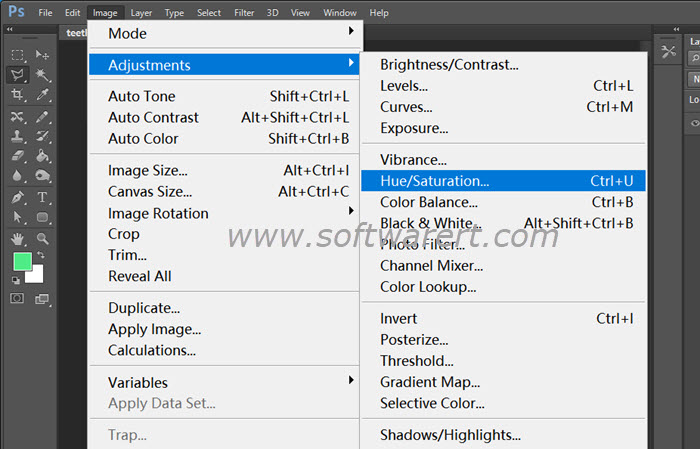
Run Photoshop on your PC. Drag and drop the picture from its folder to the image editor software. Double click on the image thumb or the lock icon in the layers panel to convert the background to layer in Photoshop. In the tools panel, right click on the Lasso Tool, select and change it to Polygonal or Magnetic Lesso Tool. Select the teeth you like to whiten. Click Image >> Adjustments >> Hue/Saturation… to open a window like this.
To make teeth whiter in pictures using Photoshop is very easy. You can decrease the Saturation and increase Lightness slightly. Don’t overdo it, otherwise your photo will look unrealistic.
Sometimes to create the most natural-looking white teeth, try to right click the selection area, select Refine Edge, and slightly adjust the Smooth factor to make the edges more natural.