Want to remove pimples, moles or blemish on your face in a photo? You need a photo editor for that. Today, we will show you how to remove blemishes from photos using TouchRetouch photo editor on Mac.
Run the photo editor from the Launchpad on Mac. Then drag and drop a selfie and portrait photo from Finder to the picture editor app. Select Quick Repair from the top toolbar. Then adjust the size of the repair tool to the same size as the blemishes you need to remove. If the blemish remover is too big, you may lose some details in the photo. On the other end, if the blemish remover is too small, you will have to repeat several times to remove blemishes, stains, acnes and other imperfections in your photos.
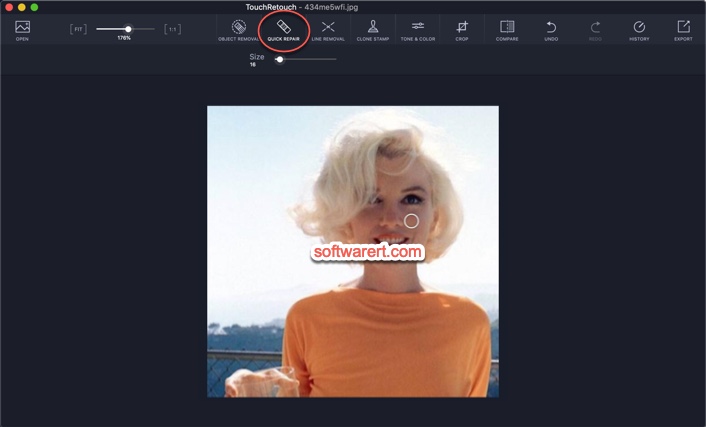
You will see the zoom in/out slider at the upper left section. Move the slider to right to zoom in on the area that you want to edit so you can remove the unwanted parts, spots easier. Move the blemish removal circle into the photo and click on the blemish of the photo you want to delete. Don’t worry about any mistakes, the photo editor allows you to undo/redo your edits. Or you can revert to original if you like to start over again.
Except the Quick Repair, the program also offers other removal tools, such as Object Removal, Line Removal, Clone Stamp.
When you are happy with the result, hit the Export button at the top right corner, then choose Save As to save it as a new copy. You can also send it through email, share it via AirDrop, add to Reminders, Notes, messages directly from the photo editor.