You have various options when you need to take a screenshot on a Windows 10 computer. Microsoft is replacing its older Snip & Sketch tool with the more straightforward Snipping Tool for screenshots and screen recording. You may have noticed that the new Snipping Tool in Windows 11 uses the old Snip and Sketch icon. The Snip & Sketch tool is still included on Windows 10 though and still appears as a distinct app in the Microsoft Store. Refer to this guide to capture screen using Windows Snipping Tool for more details.
You can find and launch this new snipping program from Windows Start menu. Here we will show you two easier ways you can capture screen without launching the Snip & Sketch tool first.
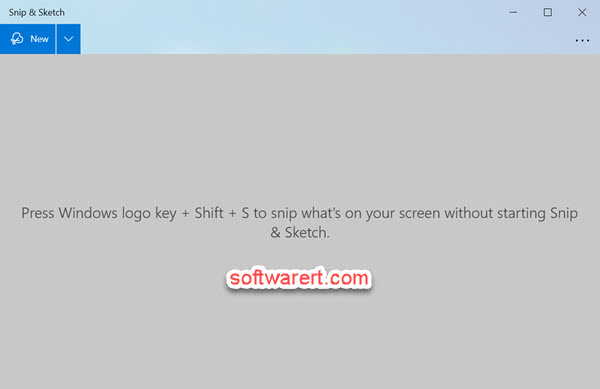
Take a snip of your screen – shortcut #1
Press Windows logo key + Shift + S key combination on your keyboard to open the snipping bar, then drag the cursor over the area you want to capture. The area you snipped will be saved to your clipboard and you will also have the option to edit or annotate it with Snip & Sketch app, and share it with other people from there.
Screen capture – shortcut #2
If you found the above keyboard shortcut is too long to remember, you can even press just the screen print key on the keyboard to quickly bring up the snipping bar and take a screenshot. To enable that, go the Windows Settings, search for “PrtScn” in Settings, you can find a page with a toggle switch that says “Use the Print Screen key to launch screen snipping.” Turn on this toggle.
Or you can go to Settings > Ease of Access > Keyboard. Turn on the toggle under Print Screen shortcut to use the PrtScn button to open screen snipping.