Do you have a photo can’t been sent or shared because it’s too large? If you are on the latest Windows 11, you have several options to make image files smaller. For example, you can compress pictures or image files using Paint 3D app which is an built-in app in the Windows 11, you can use the classic Paint app as well. The easiest solution to adjust photo resolution or make high quality pictures smaller on Windows 11 PC however would be using the Photos app which is also the default image viewer. In this quick tutorial we will show you how to reduce image file size or compress HD photos using Microsoft Photos app without installing extra photo editors or programs.
Find the photo you like to resize in Windows File Explorer. Double click to open it with the Photos app. If your default image viewer is set to other programs. Then right click on the photo, then choose Open with > Photos to open the picture with Microsoft Photos app.
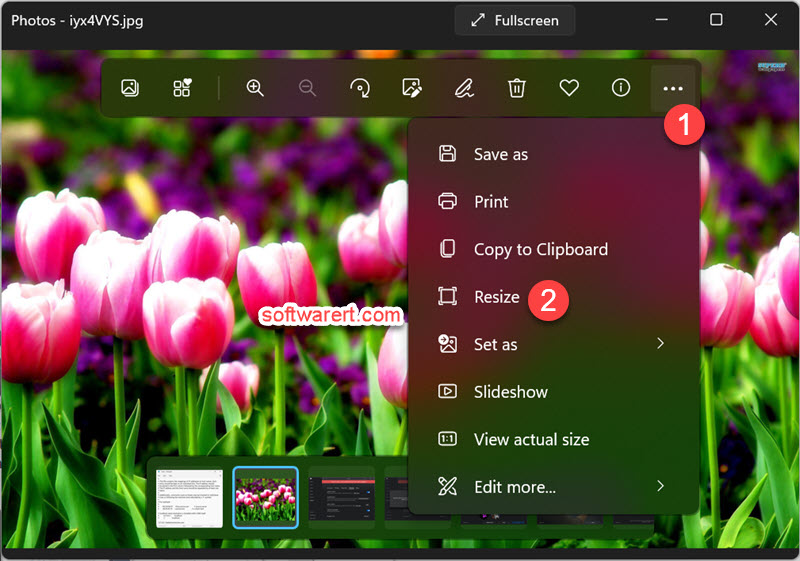
Once your photo is opened in the Photos app, click on the More options button (triple horizontal dotted icon), and select Resize item from the drop-down menu.
You will then be presented the optimized presets. You can quickly select the output resolution, width/height:
- Best for profile pictures and thumbnails;
- Best for emails and messages;
- Best for viewing.
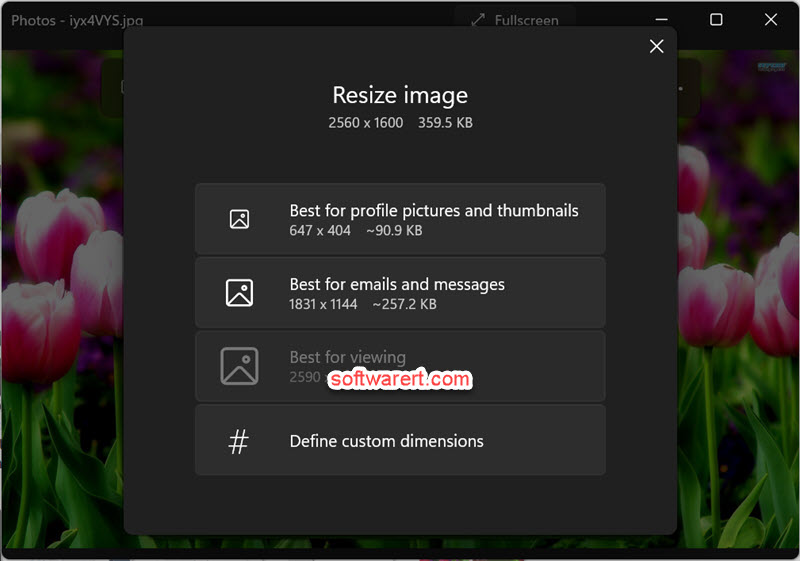
If you prefer to manually define custom width/height, click Define custom dimensions and manully input the width/height you need.
When you export or save the resized copy, make sure to save it to another location or folder, or rename it so as to avoid overwritting the original copy.
Now you know how to easily edit photo resolution, reduce image file size and make large pictures smaller on Windows 11 PC.