You may need to merge two or images from time to time. If you are a Windows user, you may combine photos with the help of Microsoft Paint 3D if you are on Windows 10 or Paint for earlier Windows versions. Mac has a photo viewer and editor called Preview. It also allows you to merge images files together, although in a not so elegant way. Follow these steps to merge pictures in Preview on Mac.
Join multiple images in Preview – video demo
Step 1. Duplicate photos before editing
Find the pictures in Finder. Duplicate them first, so you can always restore them when you made any mistake in the editing process.
Step 2. Cut and copy the first picture to clipboard
Double click on the first picture to open it with Preview. Click and hold, then drag on the picture to select part of the image, or go to the Edit menu, choose Select All to select the whole picture. Then click Edit > Cut or press Command+X to cut the picture or the selected part of it and copy it to clipboard. This will convert the photo to PNG format if it was an image file in JPG, JPEG or other format that does not support transparency. Converting will replace the existing file. That’s one of the reasons we asked you to create a copy of original pictures above and edit only the copies.
Step 3. Resize image optionally
Now we need to adjust the size of the image to make room for all photos you want to join together. Click Tools > Adjust Size. Set the desired width and height in the Image Dimensions screen that pops up.
Step 4. Paste the first picture
Press Commend + V or go Edit menu, choose Paste to paste the first photo or the selected part of it from clipboard to the image background.
Drag the blue dots in its border to resize the first photo. And drag and drop to position it anywhere above the transparent background.
Step 5. Copy and paste the second photo
Again open the second photo in Preview on Mac. Go to the Edit menu to choose Select All or drag on the picture to select part of it, then copy it to clipboard.
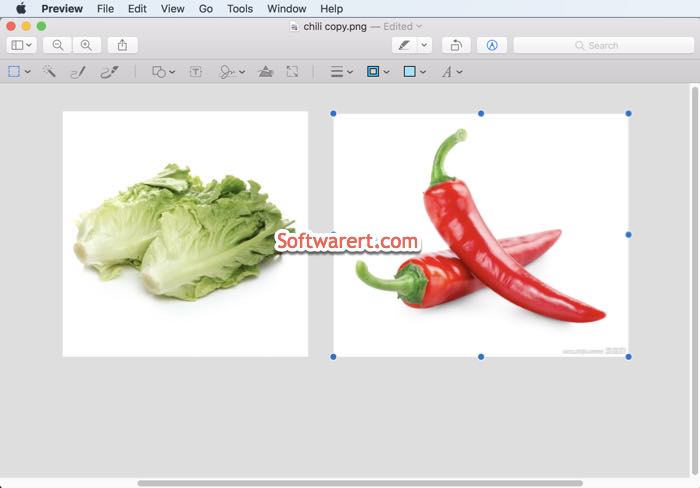
After that paste the second photo to the same image with the first photo.
Likewise, drag its border to resize it, drag and drop to move it anywhere above the canvas.
Step 6. Save the photo collage
Repeat the steps to add more photos to the collage. Finally click File > Export and follow the on-screen tips to save the photo collage as a new image file on your Mac.