Want to record your PC screen and turn it into animated GIF? The simplest way to record screen of a Windows computer and save it as a gif file is by using ScreenToGif. It is free to download and use without any ads or watermarks. As its name says, it is a screen to GIF recorder and maker. It also supports webcam recording and even whiteboard recording. Following are the quick steps to use this free screen recorder and GIF editor to record a Windows 11 screen and export it as an animated GIF file.
If you have not downloaded it yet, get the free screen recorder for Windows here.
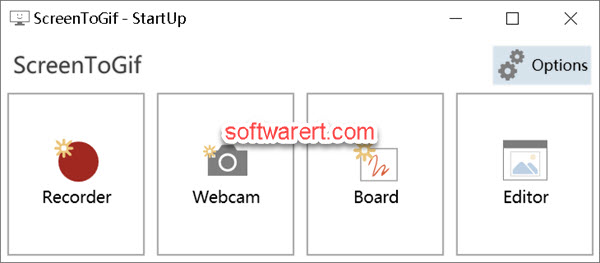
Launch the GIF recorder program on your Windows computer, select Recorder from its home screen.
You will then see a frame with transparent background. Drag the borders of this frame to select the area you want to record on your PC screen.
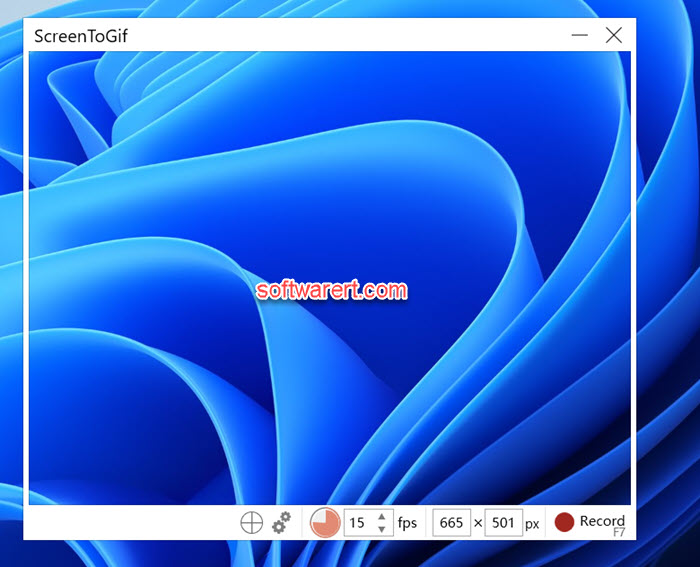
The framerate is set to 15FPS. If like, you can change the value up to 60fps which means 60 frames per second. A high frame rate will create a smooth animation, while a low frame rate will be choppy. However the higher framerate or more frames, the bigger the file size. Generally speaking, a frame rate of 10-15 fps is able to produce smoother animations. So you can leave the default framerate without change.
The recording of a Windows PC screen is plain and easy. You hit the Record button, or use the keyboard shortcut F7, to start. Click the Stop button, or press keyboard shortcut F8, once you are done recording. The recorded video will be sent to its integrated GIF editor where you can edit the recorded GIF before saving it to your computer hard drive.
There are a lot of things you can do with this built-in GIF editor. For example, you can remove duplicate frames, delete selected frames, reduce framerate, reverse frames, add title frames, add transitions, add watermark, resize, crop or flip images, add overlays, add captions, add text, insert drawings or shapes, and so on. We won’t dive into the details for now. You can choose according to your own needs.
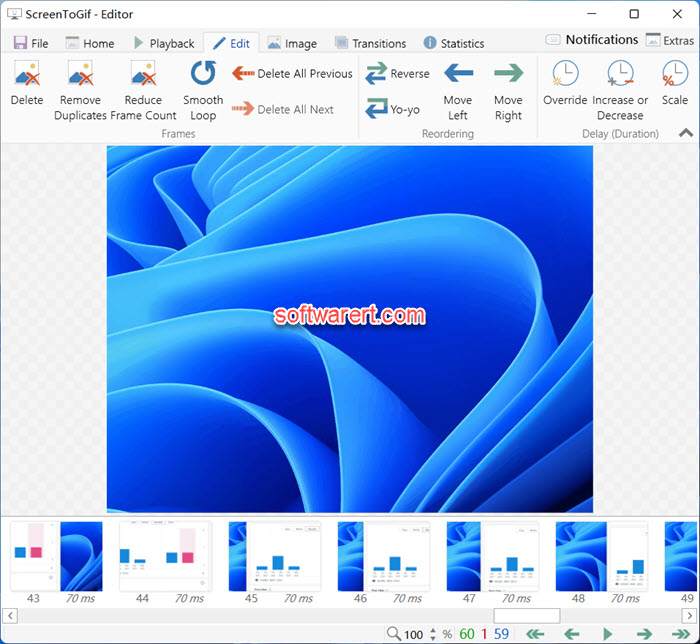
Once you are done with the GIF editing, head to File tab and click Save as button. The right sidebar appears with export options you can tweak, such as file type, encoder, quality, loop, repeat, location to save, file name, etc. Again change these settings according to your own requirements. Or you can simply leave the settings to the default preset. Click Save button and wait a second for the GIF maker to encode and create the GIF file.
That’s how you can record screen on a Windows 11. It is fine if you are using another Windows version as the screen recorder has several versions that are compatible with earlier Windows versions like Windows 10, Windows 8, Windows 7, just make sure to download the right version from its website.